NamelessFractals
Here I experiment with various rendering techniques!
Project maintained by NamelessCoding Hosted on GitHub Pages — Theme by mattgraham
Bokeh effect
The usual renderer mimics a pinhole camera, which is essentially just a box with a small hole through which photons travel. A perfect pinhole camera cannot exist, as the hole needs to have the same radius as a photon. On the other side if we want proper bokeh, then we need to approximate a lens with an aperture shape.
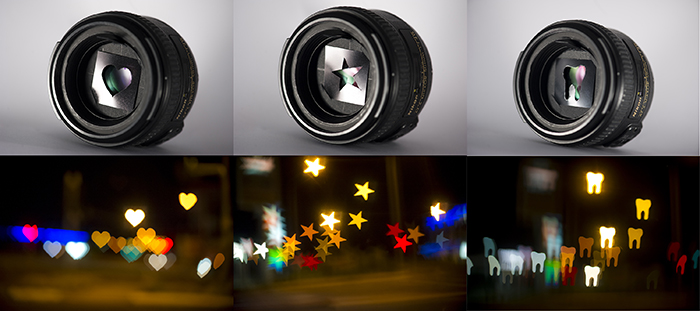
The aperture shape is essentially the shape that the camera lens has, which determines what the bokeh shape will be:
The code
This code is for circular aperture!
        float focaldist = 1.3; // distance from the camera towards the focal plane
        float radius = 0.01; // radius of the offset

        vec3 camdirection = vec3(0.,1.,0.); // camera forward vector
        camdirection.yz = rot(camdirection.yz, rota);
        camdirection.xy = rot(camdirection.xy, rotb);
        vec3 sidex = vec3(1.,0.,0.); // right side vector
        vec3 sidey = vec3(0.,0.,1.); // top side vector
        sidex.xy = rot(sidex.xy,rotb);

        sidey.yz = rot(sidey.yz,rota);
        sidey.xy = rot(sidey.xy,rotb);

        float ang = rndf(r)*2.0*3.14159; // angle of the circle
        float scale = sqrt(rndf(r))*radius; // scale
        vec2 offset = vec2(cos(ang), sin(ang))*scale; //offset used to simulate aperture


       //NOT MY CODE////////////////////////BY bezo
        vec3 focuspoint = p + ((d*focaldist) / dot(d,camdirection)); //these will lie on the focal plane
        /////////////////////////////////////


        p = p + sidex*offset.x; // offset on the right side vector
        p = p + sidey*offset.y; // offset on the top side vector

        d = normalize(focuspoint - p); // new ray direction based on the offset ray position and focuspoint
The aperture shape
In the end “p” is the current ray position and “d” is the ray direction. I use a “rot” function, which basically rotates a 2D vector by a certain amount. I use it to align the side vectors so that I can offset the ray position by a certain amount on the plane with a normal described by the “camdirection”. By offsetting the ray position, we’re emulating the aperture shape and because we’re accumulating frames over time the shape of the aperture will become visible. The radius controls the radius of the offset, the larger it is the more blurry the scene will be and vice-versa. The easiest shapes to simulate are basic things like a square, a circle, a ring and etc..
//circle
float ang = rndf(r)*2.0*3.14159;
float scale = sqrt(rndf(r))*radius;
vec2 offset = vec2(cos(ang), sin(ang))*scale;

//square
vec2 offset = (vec2(rndf(r), rndf(r))*2.0-1.0)*radius;

//ring
float ang = rndf(r)*2.0*3.14159;
vec2 offset = vec2(cos(ang), sin(ang))*radius;
However some other shapes like a star, might be more difficult. One method would be to generate random points in a square and using an SDF to see if the point is within the specified shape, if it isn’t, generate a new point until it ends up inside the shape. That, or you could use the distance to offset the position towards the center.
The focal point
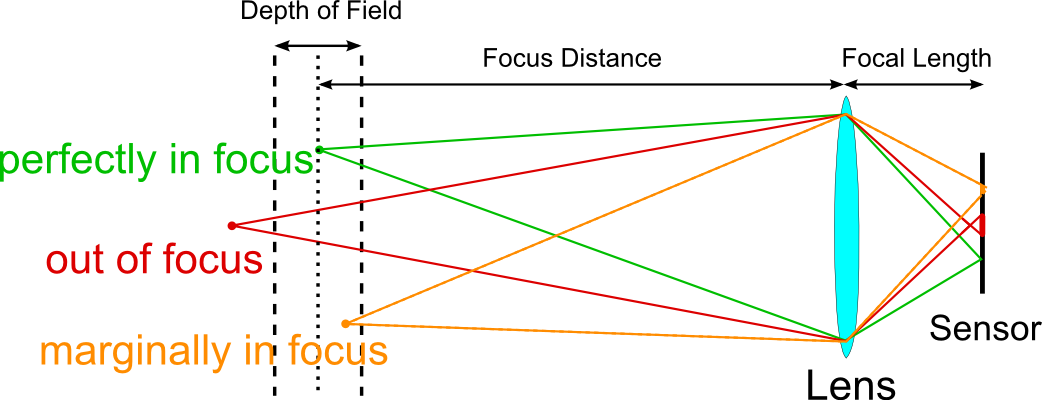
The focus point is the point that will be the most clear and the further away from that point the ray is, the blurrier it result will be! The “focaldist” variable determines the distance from the camera, to the focus point. At the focus point, the rays are the least divergent from one another, thus the differences between each ray position is perfectly adjusted for the image to be clear.
Conclusion
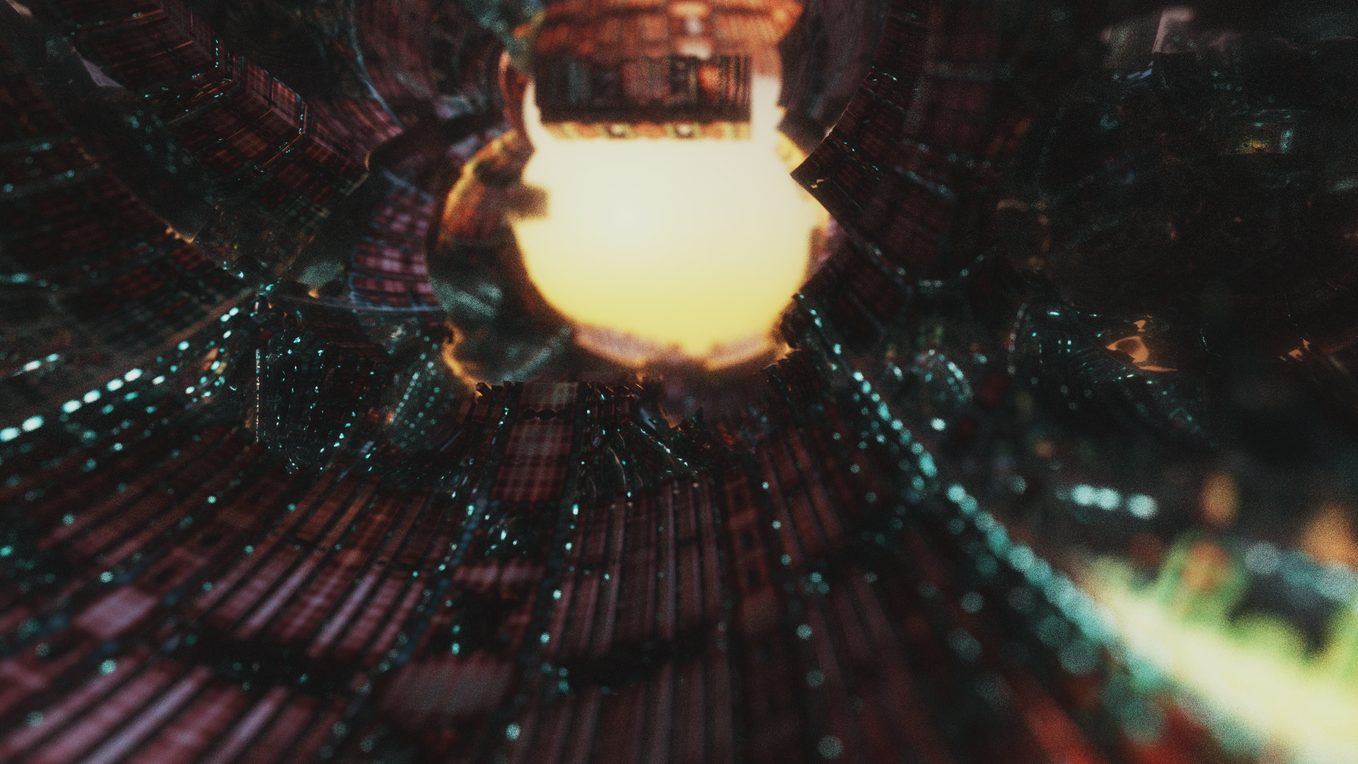
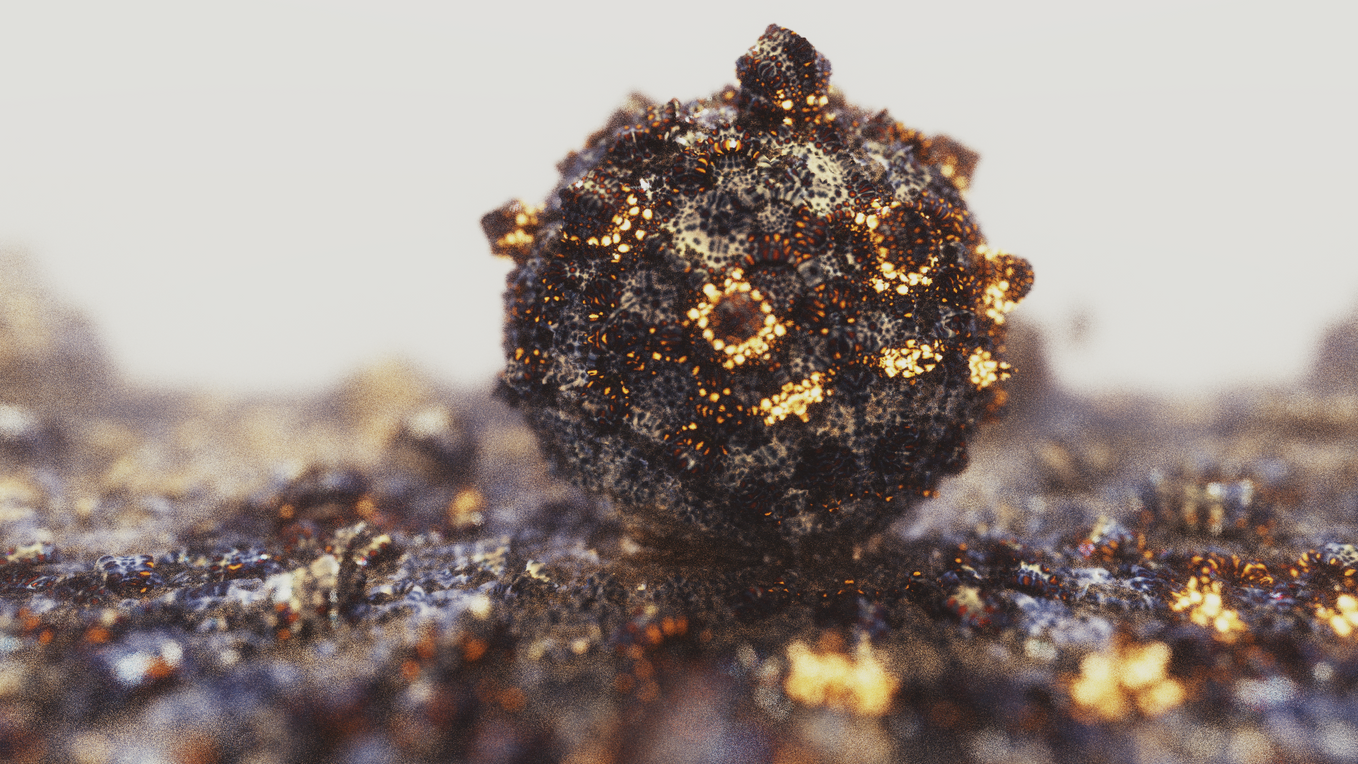
Bokeh can be really beautiful if done correctly and you can do any shape for the bokeh, as long as you can generate random points within the shape.
Either way, here are some pictures generated using bokeh: